stretching

Cultivating Successful Turnout Part 6/6

Turnout Q&A Image.jpeg

Hello and welcome to the 6th and final post about “Turnout,” our workshop at Dancenter North. Last Saturday we reviewed some of the dancers’ favorite exercises and did some Q&A about turnout. Although I joked with the dancers about my elaborate “non-answers” to their questions (because the real answer to most questions is “It depends...”), we did cover some important ideas about turnout. I hope these Qs and As will be helpful to you, as well! 

Q: How can I improve my turnout without hurting myself?

A: The dancers themselves were able to answer this question beautifully. Their very correct answers highlight the fact that improving turnout is a process. Here are their answers: 

  • Work slowly. 
  • Stay where your body is comfortable. 
  • Try to do a little more each day. 
  • Push it when you can. 

I’d also add: 

  • Work on improving strength and flexibility throughout your entire body, not just your hips. 
  • Focus on good alignment and dance technique within your comfortable turnout range- don’t crank your turnout at the expense of the rest of your technique. 
  • And finally, as we said in week 1: Start with success and your body will give you the rest. 

Q: How can I make sure I am turning out from my hips? 

A: First of all, don’t force your turnout by planting each foot separately feet with hips and knees flexed, then straightening both knees. This technique, called “screwing the knee” can cause excessive compensation through the knees and feet. Instead, gently place your feet where you think they can go without feeling excessive strain in your legs (keep legs fairly straight while you do this). Then, lift up one leg to passé. If you can keep your pelvis square and level, you are likely using the correct amount of turnout for your body, which will likely include a good amount from your hips. 

Also, if you are turning out from your hips, your knees will ideally glide right out over your toes, not toward the insides of your feet during a plié. If you have difficulty aligning your knees over your toes, get assistance from your instructor or physical therapist- some people do have alignment variances that prevent the knee from tracking straight over the toes. 

Finally, check with your dance teachers. An instructor who is knowledgeable about correct technique and alignment throughout a wide range of dance movement will be able to help you be sure that you are turning out from your hips appropriately. 

Q: How come it’s easier for others to achieve their turnout?

A: Everyone is different. Our bodies, our histories, and our training can all influence how well we turn out. Hip socket depth, femur alignment, soft tissue flexibility, and strength are just a few of the reasons two people might dance with different amounts of turnout. Please remember: turnout is a process and a technique, not a static characteristic of a person. Respecting your body and putting the work it to make improvements will help you find your best turnout.  

Q: How long will it take to reach my goals?

A: This is another question that really “depends”. During this workshop, we were able to measure each dancer’s turnout before and after doing even just a few exercises, and they were all able to see a positive difference. So, in that case, we were able to see positive change in just a few minutes. More significant and permanent change will likely take longer. What your goals are, where you are starting, how much time you put in, how much focus you have, whether you stay safe and successful with your movement, what your injury history is, what your training history is, and how quickly your body adapts to change are all factors that contribute to how quickly you might reach your goals. The important part is putting in the work on a regular basis. Keep at it and you will likely see improvement. If you do not see any positive change over a period of weeks or months, your dance teacher or your physical therapist may be able to help you figure out why and help you make it better. 

Q: How can I hold my turnout longer?

A: Warm up before your start. Start by using your successful turnout, not by forcing it (see question 2 above). Practice using it throughout all movements you perform in class. Listen to your teachers and ask for individual help if you are unable to understand or execute the technical instructions they give you. Lather, rinse, repeat. Doing technically sound work, over and over, will help you build the endurance you need to hold your turnout longer. 

Q: What exercises should I do before class so that I am able to hold turnout from the beginning?

A: The simple, but not easy, answer is whatever exercise helps you the most. This requires that you be a scientist with your own body. Try different stretches or exercises that you already know, but test/retest your turnout before and after doing the exercise. Which one helps the most? Do THAT one before class. Not sure if a new exercise you saw will help? Try it, and test/retest your turnout as above. One size does not fit all for exercise.  Don’t worry if your friend, teacher, or even physical therapist, shows you an exercise that doesn’t feel good or doesn’t help you. Do what works for you and don’t think twice about it!

That being said, some of the dancers in this workshop really liked warming up before class with this exercise. Feel free to give it a shot and see if it works for you!


PLEASE READ FULLY: A 3D pivot matrix is a movement sequence that can help your feet, knees, and hips work together in a coordinated fashion. The 3D pivot matrix can be either a warm-up or conditioning exercise. For best results, step only in the directions that are comfortable and/or only step as far out as is comfortable for you.

** Please discontinue this exercise and consult with your doctor or physical therapist if you are experiencing pain or if you are unsure as to whether this exercise is right for you.**


Thanks so much again for joining us! Please comment below or write me at melissa@kinesipt.com if you have any questions- I'd be happy to help in any way possible. Happy Dancing!

Cultivating Successful Turnout Part 5/6

Wow. Time really does fly! We've now spent 5 weeks learning and practicing a myriad of different ways to help dancers improve turnout. We've previously worked on building both strength and flexibility throughout the legs and feet, but Week 5 of our turnout workshop at Dancenter North brought us further north in the body- to an area called the thoracic spine

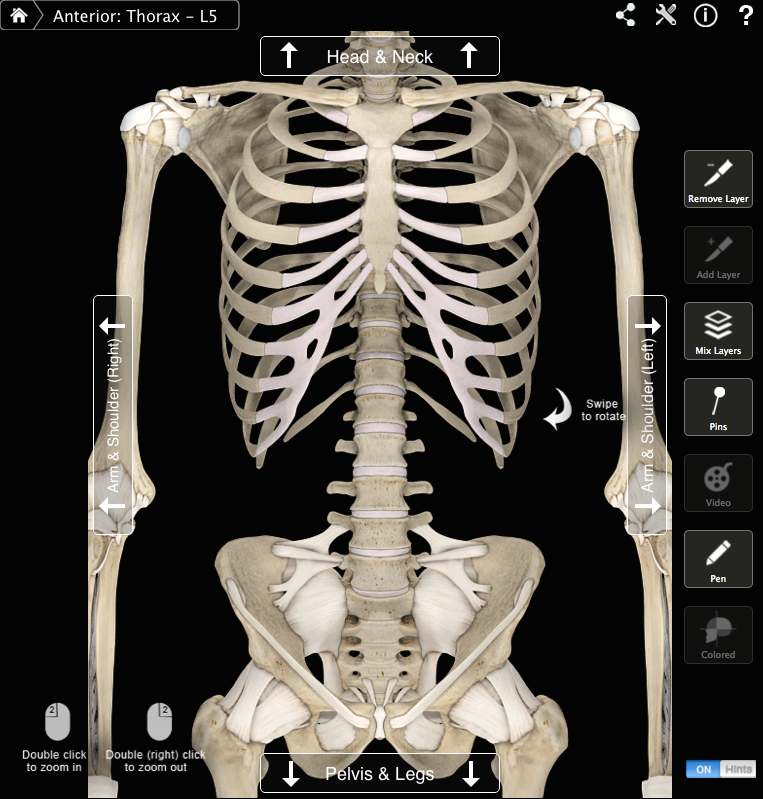
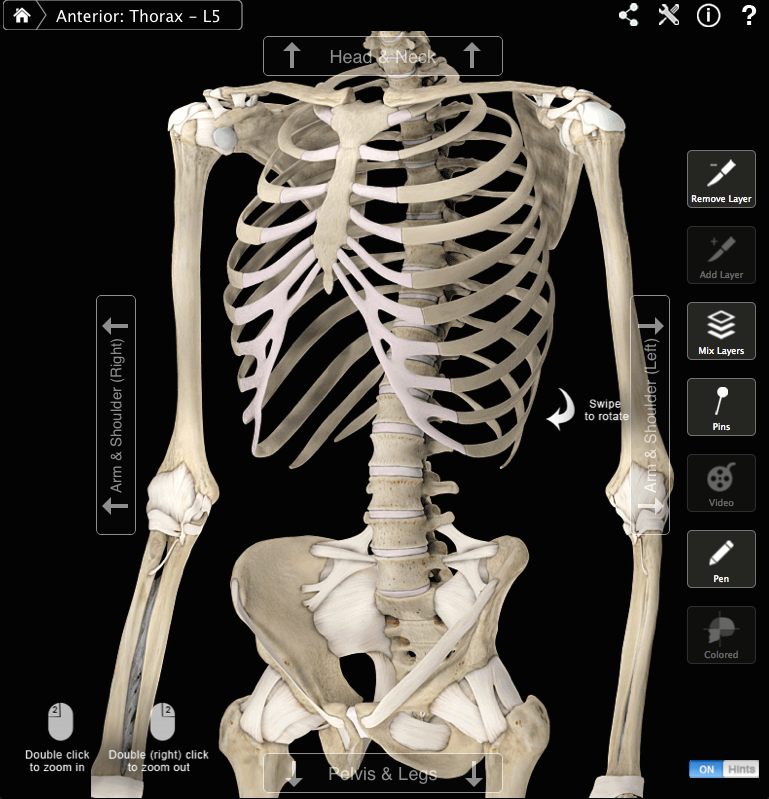
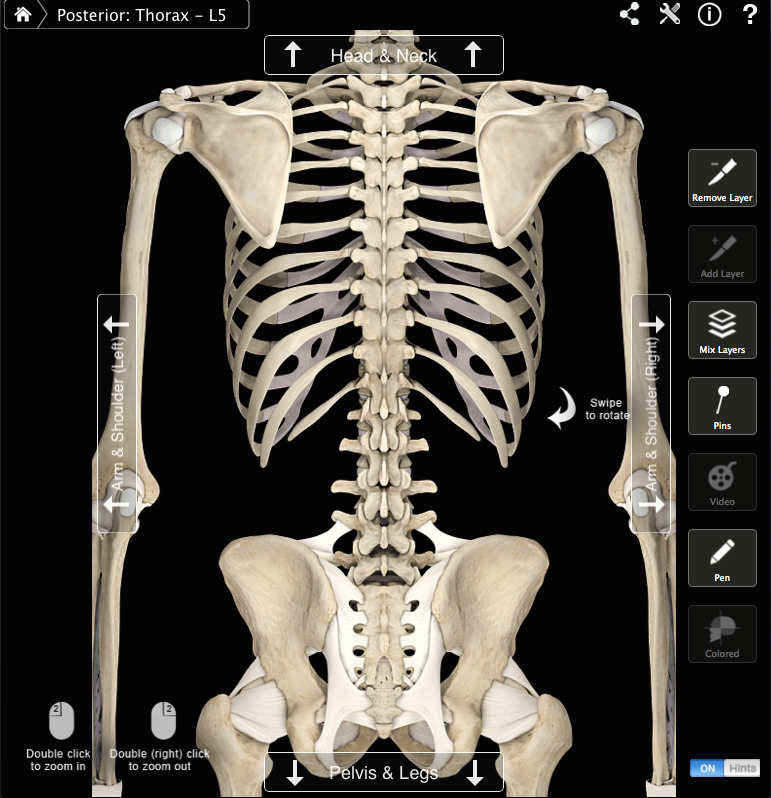
The thoracic spine is the name for the region of the spine comprised of the 12 vertebrae where ribs attach. Although the word “ribcage” kind of brings to mind the static structure of a birdcage (indeed, our lungs and heart are enclosed safely within it), this area of the body has the capability to move quite a bit. The reasons why thoracic spine and ribcage movement are relevant to turnout can get a little complex, but we’ll dive in to a couple of them here. 

1. When we realize that the human body works as a complete system, it is natural to realize that movement of one body part is absorbed and distributed through the entire system. When we move our head, arms, or shoulders in one direction, that movement must continue somewhat through the spine (just try moving your head or arms without moving your spine- you won’t be able to get very far!). If the thoracic spine and ribcage do not move very well, they will not be able to absorb the movement of the upper body, and that movement will likely be translated to the hips, or even to the knees. So, having a flexible thoracic spine and ribcage is important to turnout because stiffness of these areas can make it very difficult to hold hip and pelvis placement while executing porte de bras (movement of the arms). 

In class, we observed this phenomenon by standing on one foot, in passé, with both legs turned out. We then reached our arms out the the sides and rotated our upper bodies to the right and left. Try this at home, (being careful to avoid causing pain or aggravating any existing injuries!) and notice how your pelvis moves in response to your upper body movement. Our goal is to be able to allow your upper body to move as far as possible while maintaining good control of your hips and pelvis so you can still maintain good turnout in the legs. Doing exercise designed to help your thoracic spine and ribcage move better can be a great step toward reaching this goal.

2. Gaining strength and control of thoracic spine movement is also critical to maintaining hip and pelvis alignment and turnout while dancing. Fortunately, we have many muscles (4 layers of abdominal muscles) and quite a bit of connective tissue that connect our spine and ribcage to our pelvis. When we exercise 3 dimensionally and with a focus on building both flexibility and strength throughout our movement range, these muscles become a tremendous asset to our dancing.  I've included a couple of videos below to give you a visual on this concept. 

Video #1: A twist on the porte de bras stretch, promoting thoracic spine and ribcage movement in 3 dimensions. Remember to only work where you are comfortable and successful. Allow your body to give you more stretch when it is ready- don’t force it. Please discontinue this exercise and consult with your doctor or physical therapist if you are experiencing pain or if you are unsure as to whether this exercise is right for you. 

Video #2: A plank on hands and feet with 3D pelvis movement will challenge your abdominal and hip muscles to be both flexible and strong throughout your movement range. Remember to only work where you are comfortable and successful. Allow your body to give you more stretch when it is ready- don’t force it. Please discontinue this exercise and consult with your doctor or physical therapist if you are experiencing pain or if you are unsure as to whether this exercise is right for you. 

Next week is week 6! For the last week of this blog series, I will post some common questions about turnout, as well as my best attempts to answer these questions. Please feel free to add any of your questions to the comments below and I'll do my best to answer those, too. Thanks for joining us!

Cultivating Successful Turnout Part 3/6

Welcome to our week 3 recap of Kinesi’s “Turnout” workshop at Dancenter North. I continue to hear that the dancers attending class are keeping up with the exercises they learned during Week 1 and Week 2 and are feeling that their turnout is becoming easier and more comfortable. Fantastic! That’s exactly what we are aiming for. This week we learned a little bit about the hips- how they are structured and how they work.

The hip is a “ball and socket” joint that functions, like all other joints, in 3 dimensions. The ball is located at the top of the femur and the socket is located on the pelvis. 

Front view of the right hip joint. 

Front view of the right hip joint. 

Back view of the right hip joint.

Back view of the right hip joint.

The hip can move:

  • because the femur moves inside the socket (like the moving leg hip in battement), or 
  • because pelvis moves over/around the femur (like the standing leg hip in cambré), or
  • because both the pelvis and the femur move at the same time (like both hips in grande jeté). 

Regular movements performed in ballet and other forms of dance use all of these types of hip motion. During class last Saturday, we utilized mostly a “top-down” approach with exercises that cause movement of the pelvis over and around the femur. 

As we discussed in Week 1, starting with successful movement is a much safer and more effective strategy than pushing into painful or very tight directions. And here’s the super-secret-magic* key to why: Movement is 3-dimensional. It occurs in 3 planes simultaneously at all joints and in all muscles of the body.

A visual depiction of the planes of motion. Forward and backward movement occur in the sagittal plane, side to side movement in the frontal plane, and rotational movement in the transverse plane. Although these planes are depicted as separate, all h…

A visual depiction of the planes of motion. Forward and backward movement occur in the sagittal plane, side to side movement in the frontal plane, and rotational movement in the transverse plane. Although these planes are depicted as separate, all human movement has components in all 3 planes of motion. 

If we have difficulty moving in one plane of motion, we will have difficulty moving in all three planes. On the other hand, if we can gain mobility in one plane of motion, we can gain mobility in all three planes. 

Our bodies and brains are very smart. They will try their best to protect you from danger and pain is one of the ways they protect you. A stretch should feel good (though it can be a little intense) and should result in an improvement in movement in that direction. A feeling of very intense tightness or pain in the hip when it is fully stretched let’s you know there’s no more room to go. Rather than pushing hard into that direction and risking damage to your joints, ligaments, and tendons, stretch in a different direction that can be improved without pain. 

For example, if pushing your hips to turnout (when standing up or in a frog stretch) is getting nowhere, try doing an exercise or stretch that causes your leg to turn in (see below for one to try). Turning in often feels really good for dancers and can be a great strategy to improve your overall hip mobility. I’ll say it again- when your hip moves better in one direction, it moves better in all directions. Sometimes turning in is actually a better way to work on turning out! 

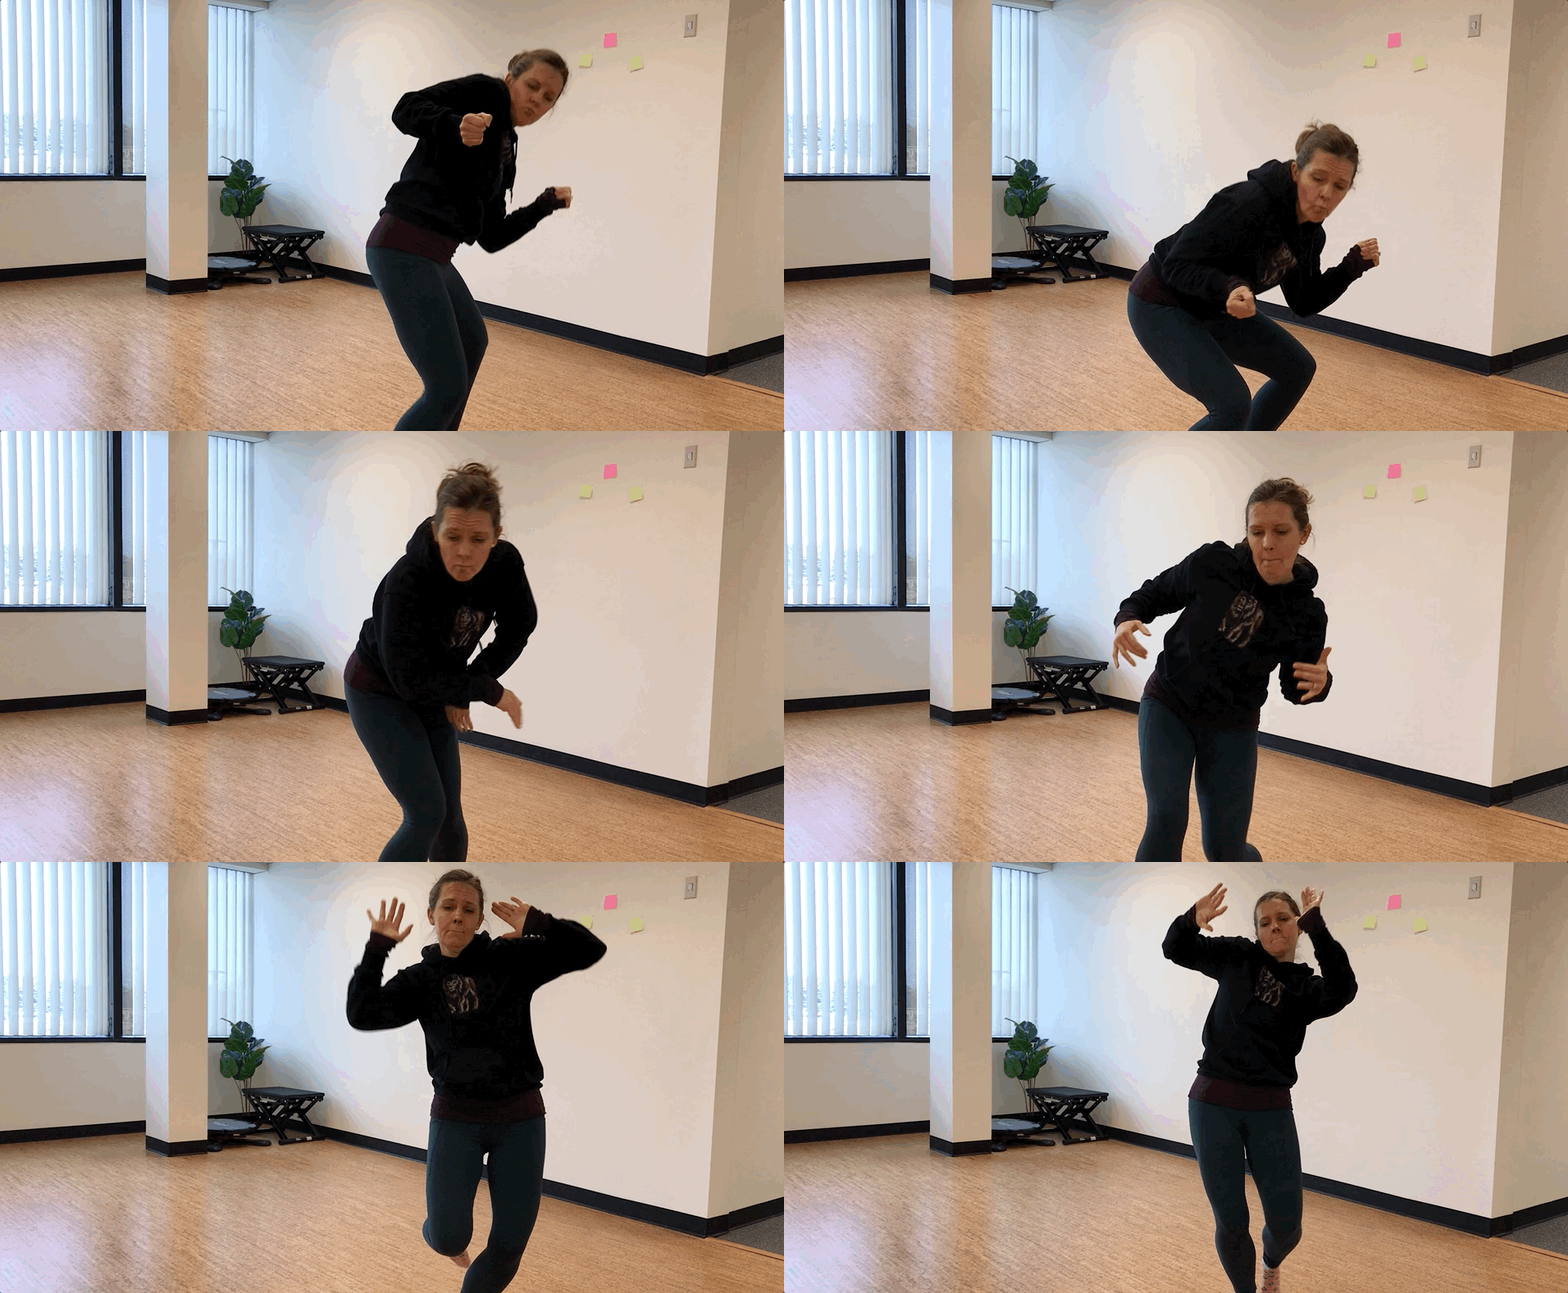
Stand on your left leg facing the barre and place your right hand on the barre. Then gently circle your left hand and right foot "around the corner" to the left until you feel a little bit of stretch in the outside of the left hip. Gently bend your …

Stand on your left leg facing the barre and place your right hand on the barre. Then gently circle your left hand and right foot "around the corner" to the left until you feel a little bit of stretch in the outside of the left hip. Gently bend your left knee and keep your left foot planted, toes forward. Repeat 5-10 times as needed, then reverse to the other side. Please discontinue this exercise and consult your doctor or physical therapist if you feel pain.

Note: If you are experiencing intense or unrelenting pain in your hips with movement, please consult your doctor and/or physical therapist for further evaluation. These strategies are appropriate for healthy hips and are not meant to substitute for good professional or medical care. 

Thanks again for joining us! Next week we will learn a little bit more about the hips and learn more strategies to maximize your successful turnout. See you then!

*Just kidding, guys. Although this is an important point, there's nothing really super secret or magic about it. It's just a truth of how your body works!